Váš nákupní košík je prázdný!

JAK PŘENÉST TETOVACÍ MOTIV
JAK PŘENÉST TETOVACÍ MOTIV – PŘENÁŠECÍ PAPÍR A JEHO POUŽITÍ
Přenos tetovacího motivu je klíčovým krokem pro přesnost a kvalitu tetování. Existuje několik metod, jak motiv správně přenést na kůži – ať už ručně, nebo pomocí termotiskárny. V tomto návodu ti ukážeme obě základní metody krok za krokem.
Co budete potřebovat:
-
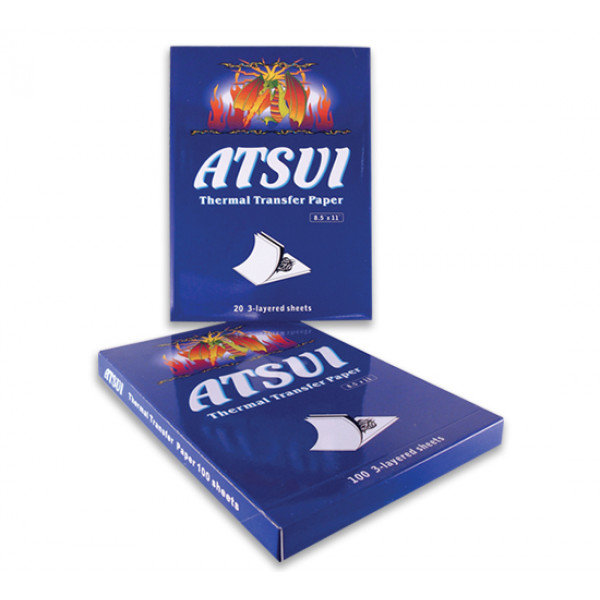
Přenášecí papír pro tetování (např. Spirit Thermal Transfer Paper)
-
Speciální přenašeč tetovacích motivů (např. Stencil Stuff, Electrum, Speed Stick deodorant)
-
Propiska, tužka nebo stylus
-
Čistá pokožka (ošetřená, oholená)
-
Nůžky
-
(Volitelně) termotiskárna
METODA 1: RUČNÍ ODKRESLENÍ MOTIVU
Tento způsob se hodí, pokud máš ručně kreslený motiv nebo obrázek z katalogu, který nechceš poškodit. Výhodou je, že originál zůstává neporušený.
Postup:
-
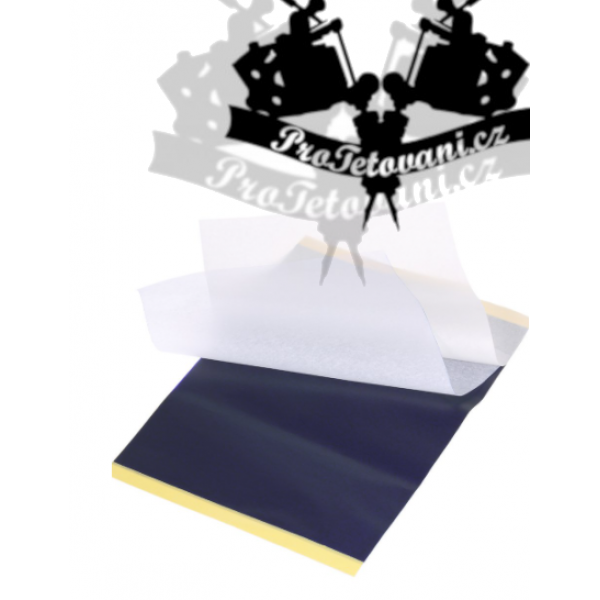
Připrav přenášecí papír – ten má čtyři vrstvy:
-
Vrchní bílá vrstva (na kterou se obtiskne design)
-
Ochranná průhledná vrstva
-
Fialová uhlíková vrstva
-
Žlutý podkladový list
Ochrannou průhlednou vrstvu sundej, ale nevyhazuj ji, budeš ji ještě potřebovat.
-
-
Polož motiv (katalogový nebo ručně kreslený) na bílou vrstvu přenášecího papíru. Na motiv polož uschovanou ochrannou vrstvu, která ti umožní obkreslit motiv bez poškození originálu. Pokud chceš, zajisti vrstvy páskou, aby se neposouvaly.
-
Pomocí propisky, tužky nebo stylusu obkresli motiv přes průhlednou ochrannou vrstvu. Soustřeď se na obrysy a klíčové detaily.
-
Po dokončení obkreslování vrstvy odděl a vystřihni motiv na bílém papíru podle tvaru místa, kde ho budeš aplikovat. Na oblých místech můžeš motiv jemně nastřihnout, aby lépe seděl.
-
Připrav pokožku – očisti a ohol místo, kde bude motiv. Naneste tenkou vrstvu přenašeče motivů a nech chvíli zaschnout, dokud nebude pokožka lepkavá.
-
Přilož šablonu, dobře přitiskni a vyhlaď, aby nevznikly žádné bubliny. Po pár vteřinách šablonu pomalu sundej a nech motiv zaschnout.
METODA 2: POUŽITÍ TERMOTISKÁRNY
Ideální pro digitální motivy nebo opakovaně používané návrhy.
Postup:
-
Připrav si design v počítači nebo tabletu. Ujisti se, že má vysoké rozlišení a je vhodný pro tisk.
-
Vlož přenášecí papír do termotiskárny podle instrukcí výrobce a motiv vytiskni.
-
Připrav pokožku stejně jako v předchozí metodě – očisti, ohol, nanes přenašeč a nech jej zaschnout do lepkavé konzistence.
-
Přilož vytištěný motiv, pevně přitiskni, vyhlaď a opatrně šablonu odstraň.
TIPY A TRIKY:
-
Přesnost je klíčová – při obkreslování si dej záležet na detailech.
-
Příprava pokožky ovlivňuje kvalitu přenosu – ideálně hladká, čistá, lepkavá, ale ne mokrá.
-
Vyzkoušej si přenos na cvičné kůži, pokud si nejsi jistý, jak funguje konkrétní přenašeč nebo papír.
-
Každý přenašeč se chová trochu jinak – zkus více značek, ať najdeš, co ti sedí nejlíp.
Díky správnému přenosu motivu si ušetříš práci během tetování a zajistíš precizní výsledky. Pokud potřebuješ poradit s výběrem přenášecího papíru nebo gelu, ozvi se nám – rádi ti pomůžeme!


